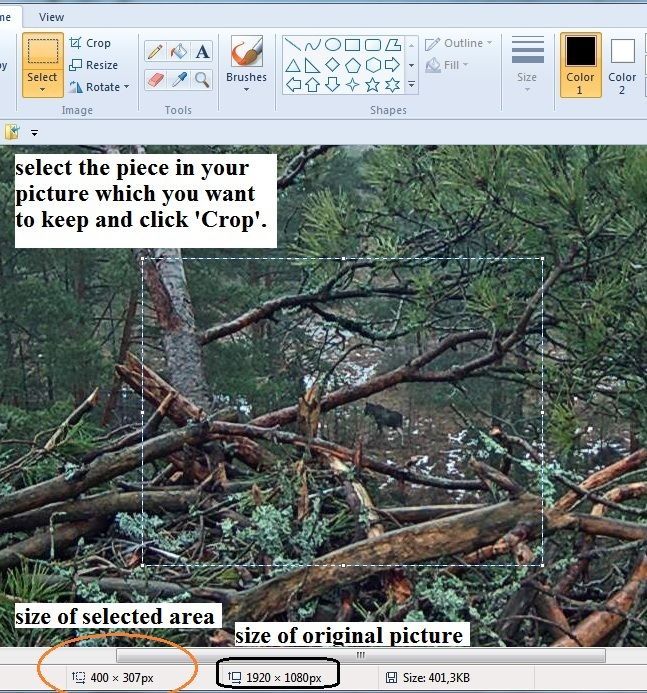
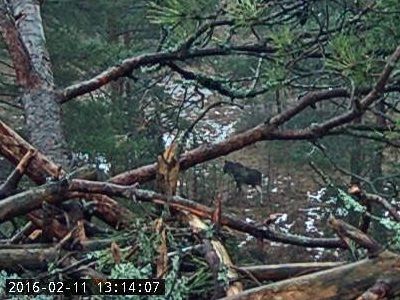
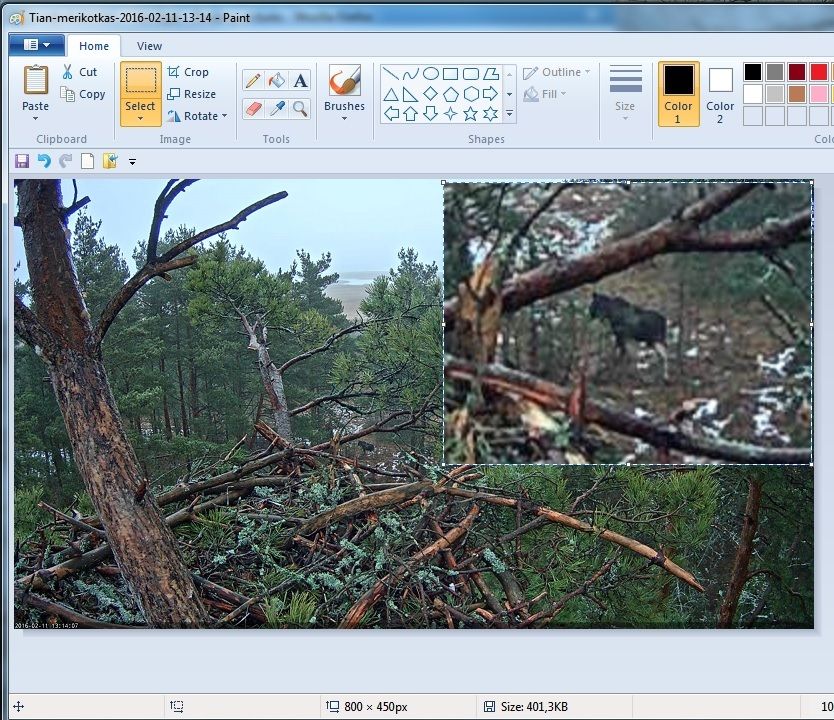
the Paint program in Windows
is an easy and quick tool for some basic editing of pictures, not only for resizing pictures. i made pictures which show where to find some of the useful tools in Paint to start with. i hope this will make it easy and fast to learn how to use some of the tools that there are
(faster than i learned: it took me a long time before i discovered them one by one. and this here below is practically all i've learnt  )
).
open the picture with Paint and then it's a good idea to
always first save the work with a new name, and after some editing steps with a new name again. this way, if something should go wrong in the editing you can return to the original or previous version. click on the blue box on top-left to find Save and other things. there are an Undo- and a Redo-buttons on the bottom line above the editing area, too, but
they cancel only the last operation, at least in the older versions of Paint.
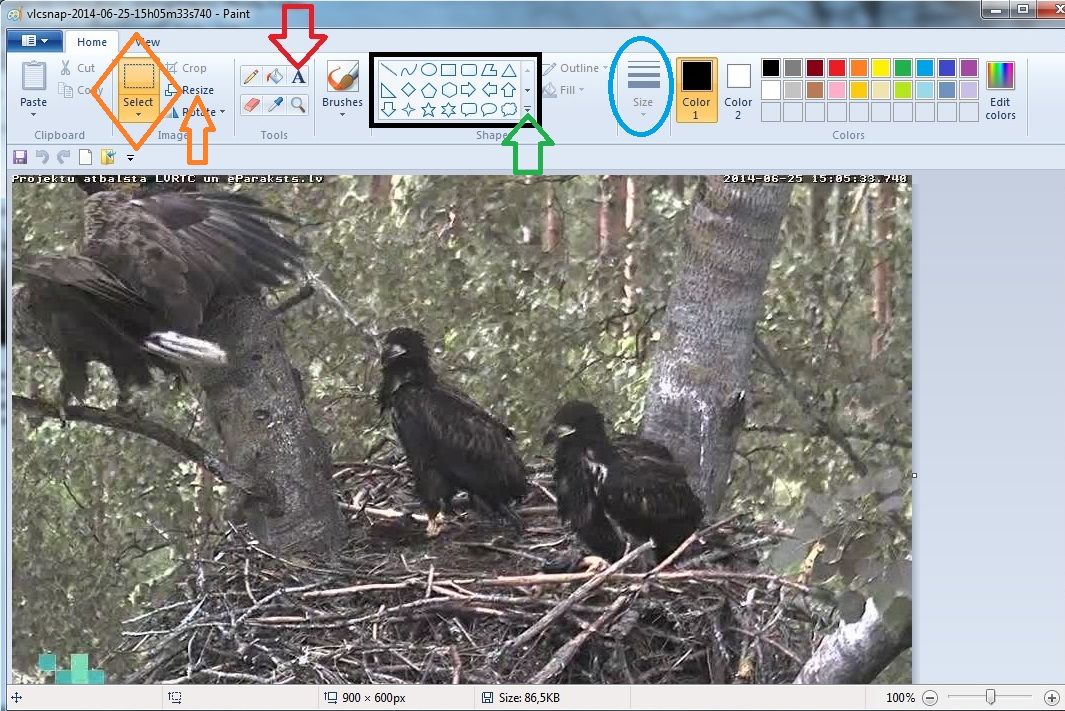
marked in the picture:
red arrow: click
A to insert a textbox on the picture. making the box Opaque makes the surface behind the text white (or any chosen colour)
black rectangle: select different shapes for drawing (circles, arrows etc).
green arrow: more shapes.
blue oval: thickness and other things of the outline of shapes
between blue oval and black box: filling of the shape with colour, which can be selected on the right.
orange diamond: Select-tool for cropping a picture. cropping leaves the selected part. to cut a piece away from picture use ctrl-X. then the cutting can be pasted to a new picture with ctrl-V.
different colours can be selected for a drawn object from the palette on the right. -on the lowest line the original size of the picture is shown: 900 x 600 px.
orange arrow: the Resize button.
in the next picture i have selected the eaglets from my screen capture. the selection is shown with a dashed line.
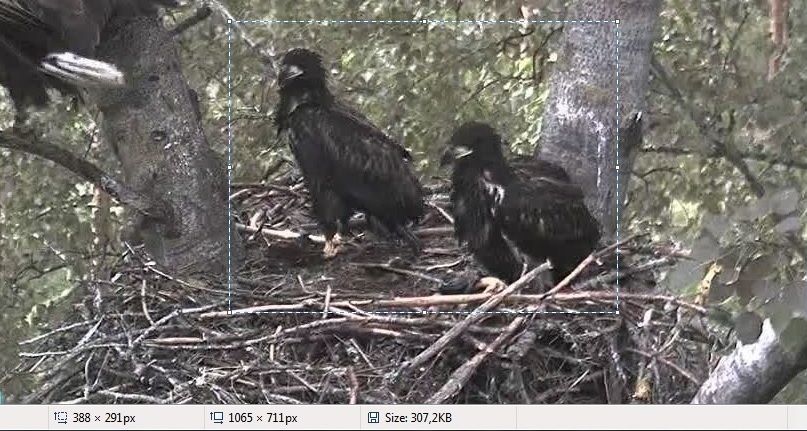
under the picture on the bottom line in the centre you can see the size of the picture (here 1065 x 711 px), the size of the file 307.2 KB and on the left the size of the selected picture (here 388 x 291 px). adjusting the size of selection to a fixed size by dragging the mouse is usually rather difficult. the much easier way is to use the Resize-function.
the size of the picture can be altered by clicking Resize (marked in the first picture above with orange arrow on the right side of Select), after which the window shown in the picture below will open.
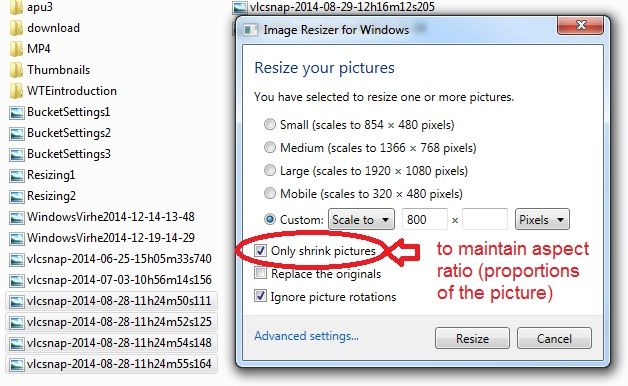
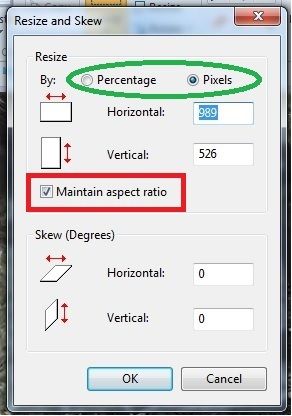 it's useful to lock the Aspect ratio first
 (marked with red rectangle): then the shape of the picture will not change (it will not be stretched or shrunk in one direction more than the other).
shrinking a picture can't be reversed without picture quality getting worse (remember saving with a new name). too much enlargement is not good either (picture will get 'grainy').
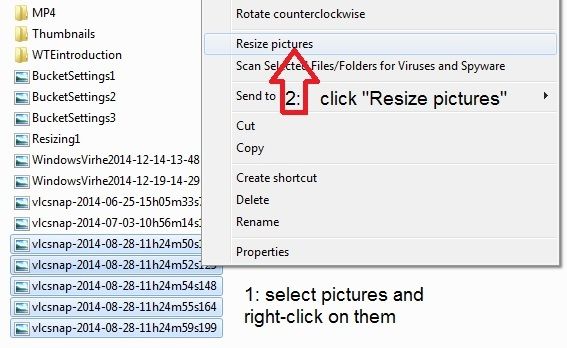
then you can select resizing by a fixed percentage or fixed pixel size (green oval). selecting either width (horizontal) or height (vertical) is enough: the other dimension will then resize automatically correctly if you have ticked the Maintain aspect ratio- box. -skewing the picture i have never used. after you are finished click OK (or Cancel if you come to other thoughts). if the picture then looks ok save your work, or otherwise click the undo-button.


